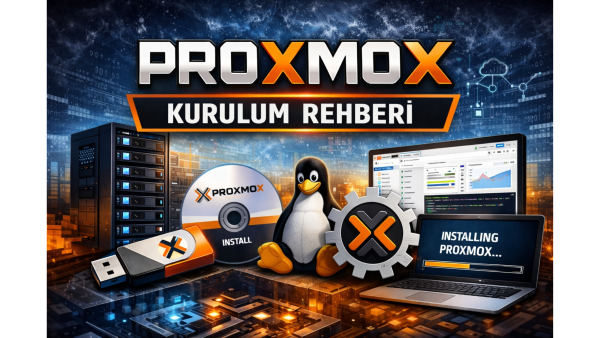
Step-by-Step Proxmox Installation and Initial Configuration Guide
When stepping into the world of virtualization, Proxmox Virtual Environment (VE) stands out as one of the most powerful and flexible solutions. With its open-source nature, it is an essential tool for both personal labs and enterprise infrastructures. In this guide, we will walk you through how to install Proxmox from scratch and perform the necessary initial configurations step by step.
1. Preparation and System Requirements
Before starting the installation, make sure your hardware meets the following minimum requirements:
- Processor: 64-bit (Intel VT or AMD-V virtualization support must be enabled in BIOS).
- Memory (RAM): At least 4 GB (more is recommended for virtual machines).
- Storage: SSD is highly recommended for performance.
- Installation Media: Download the ISO file from the official Proxmox website and write it to a USB drive using BalenaEtcher or Rufus.
2. Proxmox Installation Steps
- Insert your USB drive into the server and boot from USB.
- Welcome Screen: Select "Install Proxmox VE (Graphical)".
- EULA: Read and accept the license agreement by clicking "I agree".
- Target Disk: Select the disk where Proxmox will be installed. You can configure ZFS or LVM via "Options" if needed.
- Location and Timezone: Select your country and choose "Europe/Istanbul".
- Password and Email: Set a strong root password and enter an active email address.
- Network Configuration: Enter Hostname, IP Address, Gateway, and DNS settings.
- After installation, the system will reboot. Note the URL displayed on the screen.
3. Initial Configuration
After the server boots, open a browser on another computer and go to https://your-server-ip:8006. Login with root and the password you set during installation.
3.1. Enable No-Subscription Repository
Proxmox uses a paid enterprise repository by default. If you don't have a subscription, you need to enable the free repository:
- Select your server from the left menu.
- Go to the Repositories tab.
- Disable pve-enterprise.
- Click Add and choose No-Subscription.
3.2. Update the System
After setting up repositories, update your system:
apt update && apt dist-upgrade -y
3.3. Check Network Bridge
A network bridge is required for your virtual machines to access the internet:
- Go to System > Network.
- Ensure vmbr0 exists and is connected to your physical NIC.
3.4. Upload ISO Images
Before creating virtual machines, upload ISO files:
- Navigate to Datacenter > [Server] > local (storage).
- Go to ISO Images and click Upload.
Result
Proxmox installation is now complete ???? You are ready to create your first virtual machine by clicking Create VM.